I recently came across this tutorial which was so good I had to share. I’ll start off by saying I don’t know the creator of this tutorial and I am in no way affiliated with them, I just find their tutorial REALLY helpful.
I wanted to give this a try myself so below you can see a before and after comparison of one of my images.
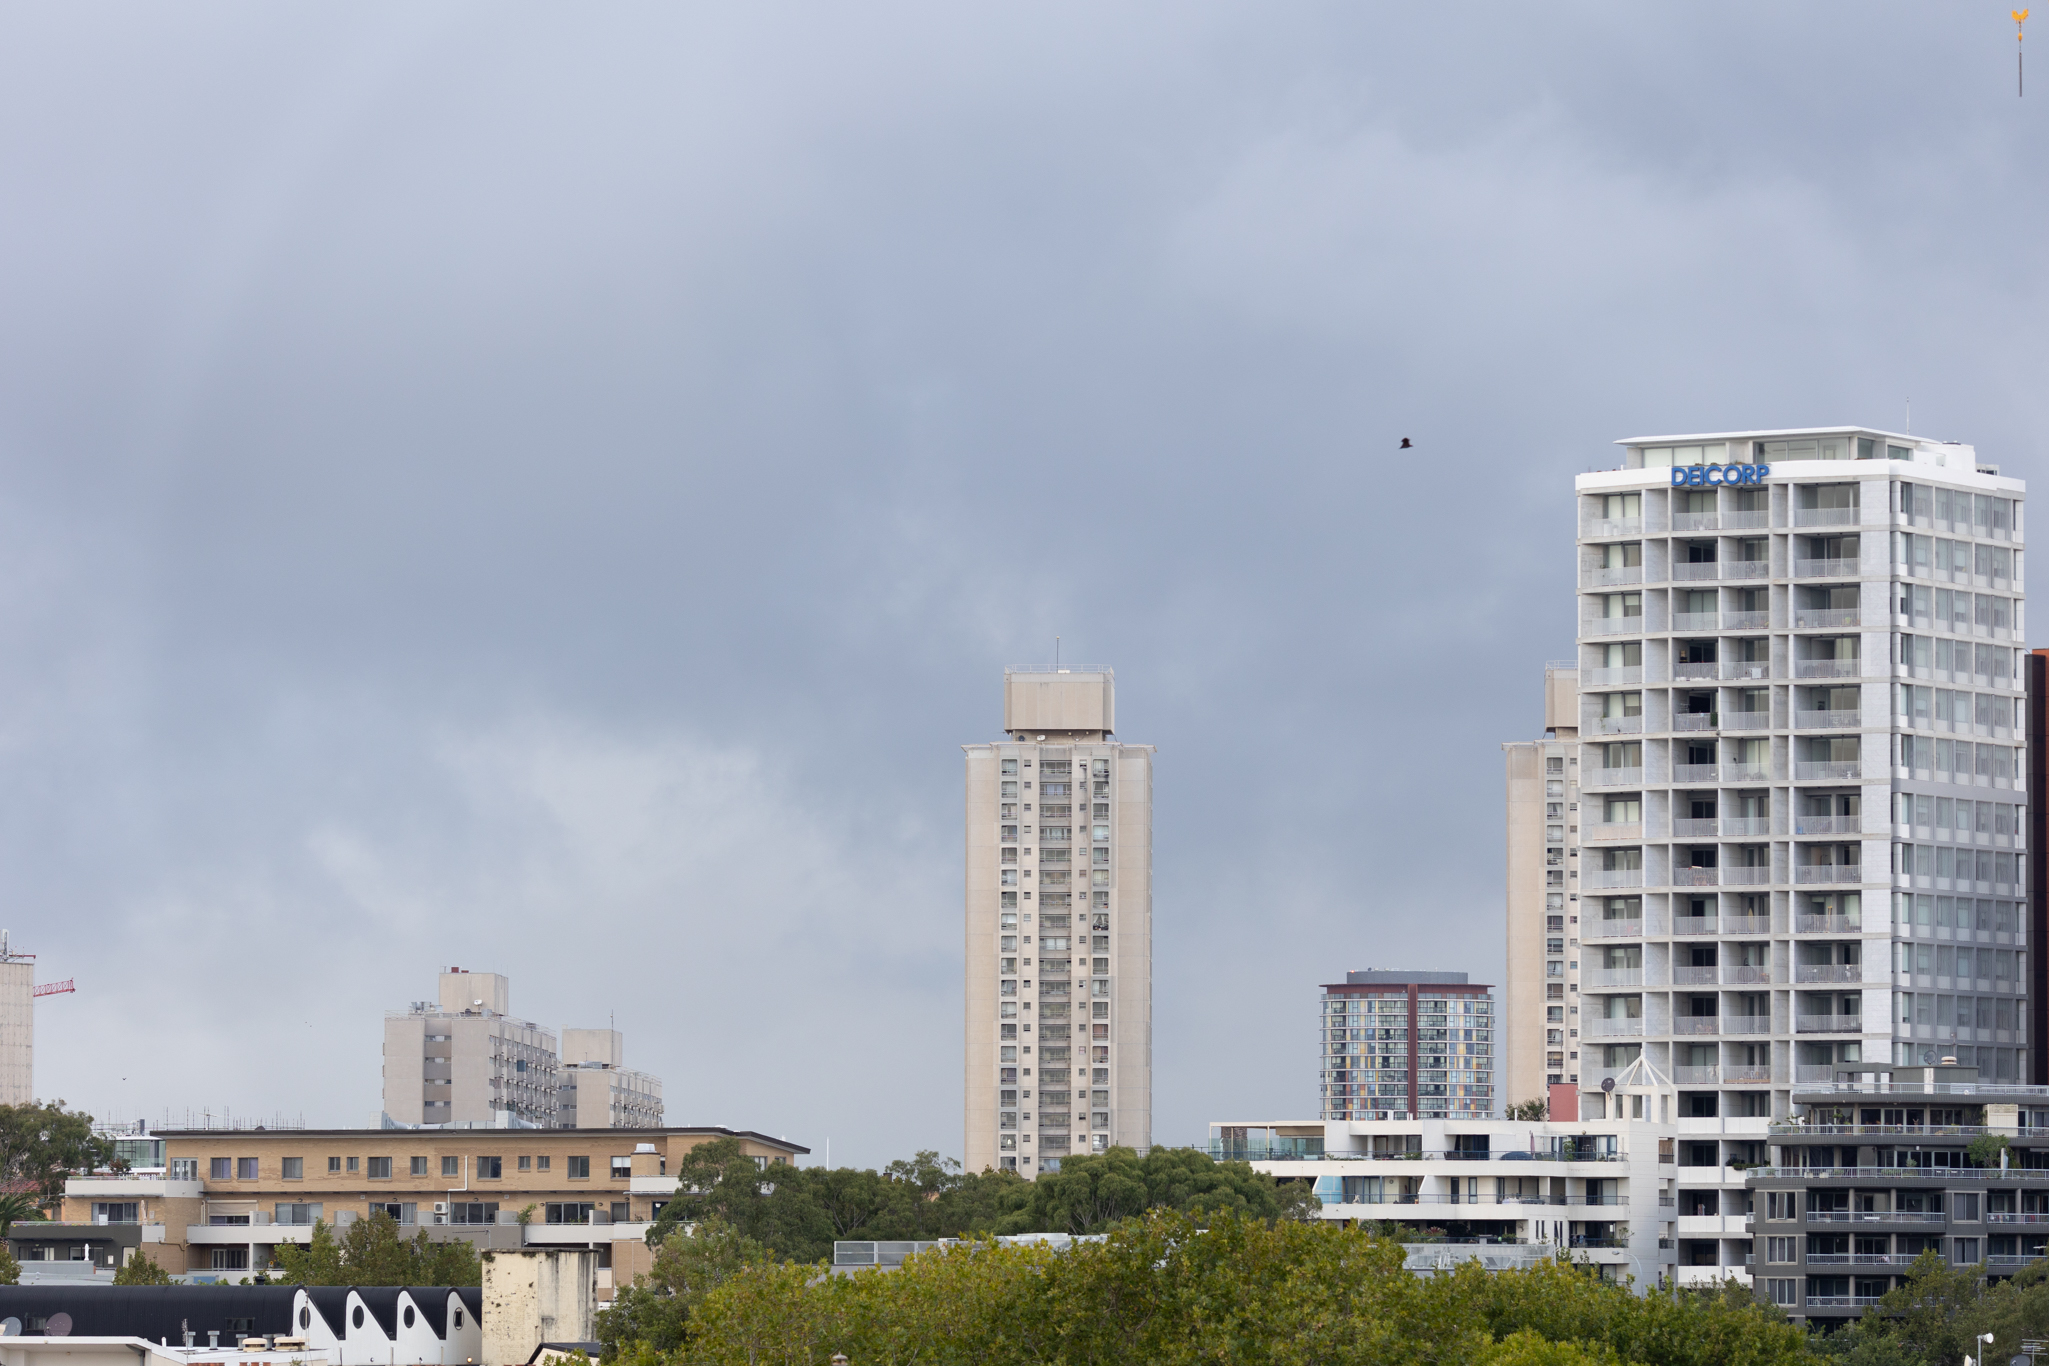

Now I would usually do adjustments in both the basic and tone curve panels in Lightroom, then take the image into Photoshop to do further adjustments. For the above image I simply used the same technique as the above video to get the ‘after’ image. If I was to do this with every image, I would only need to do some Color Grading and sharpening in PS the I’d be done!
Many people are probably already familiar with luminosity masks but they are something I’ve never really got into. I also remember when this feature was added to Lightroom but I had no idea how to use it until now. If you’re like me and have never used luminosity masks before, I would definitely say it’s worth giving it a try. It’s also worth noting that the same result in the video can be obtained by using the adjustment brush and painting over the entire image.