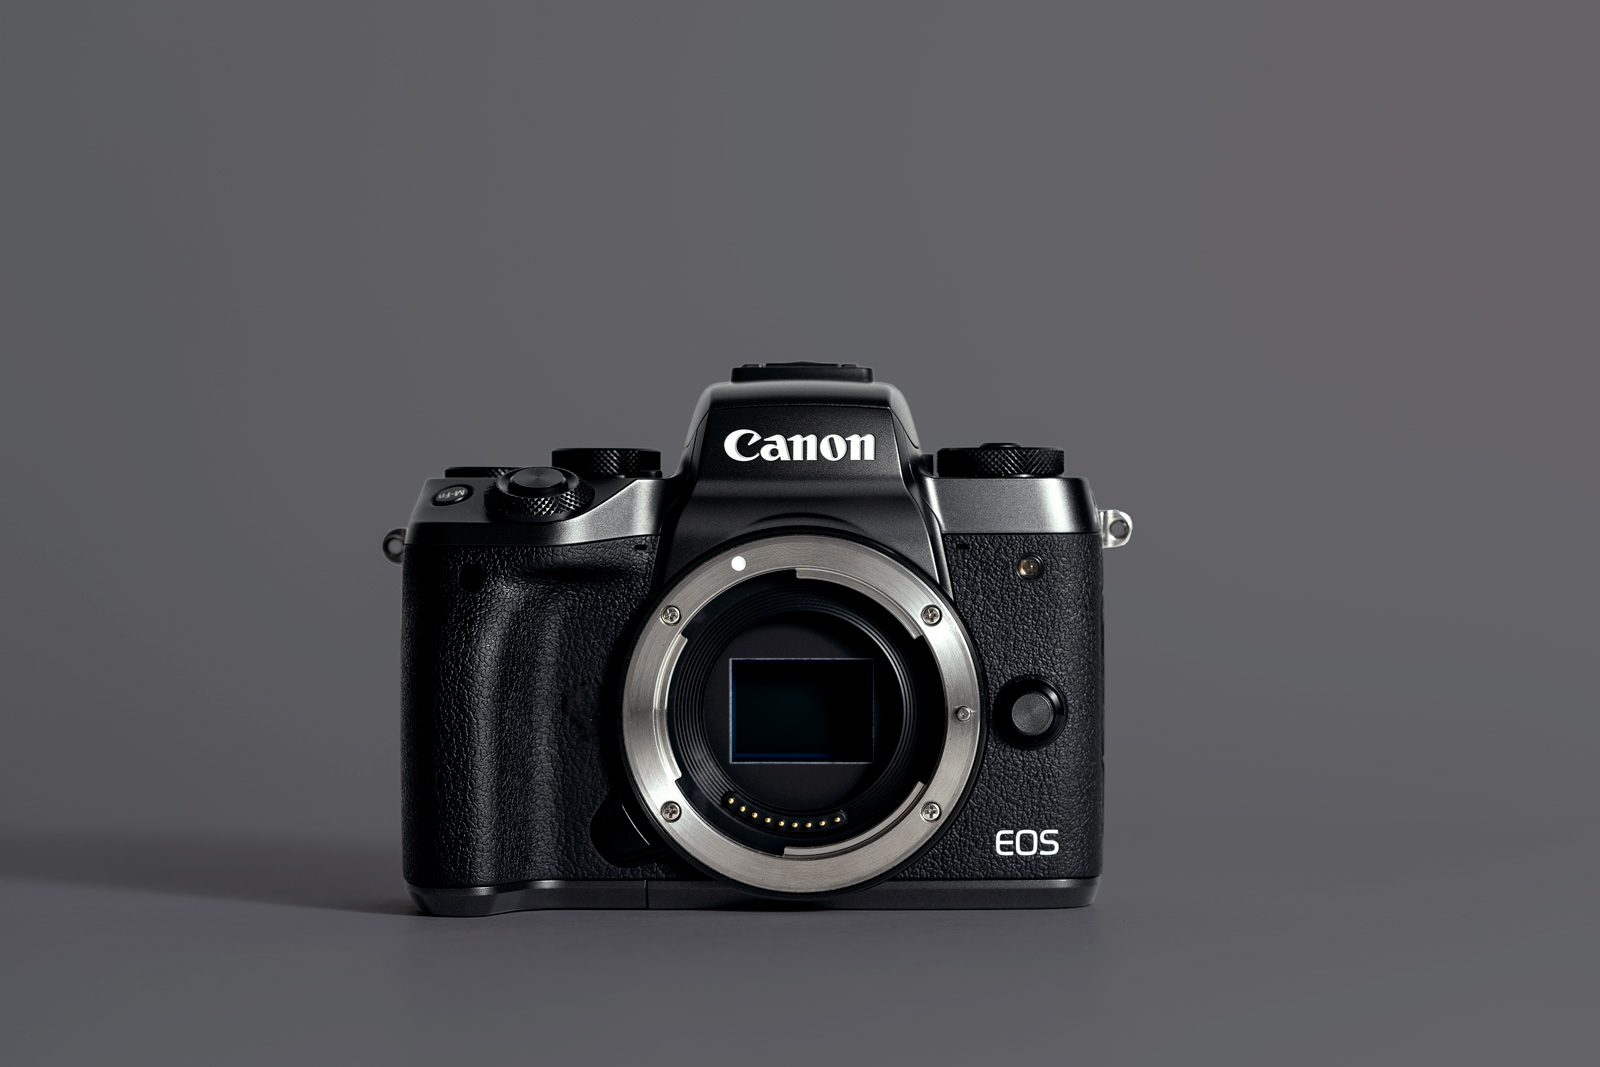
Over the past week I’ve been trying to decide (and still deciding) if I should sell my M5. It’s not that I don’t like it, I just don’t use it enough and the money could go to a drone or new monitor which I really want.
I watched this really great tutorial on removing backgrounds in Photoshop and wanted to try this with my product photography. I decided to use a few other subjects so I can practice it a bit more and get a hang of the technique.
For all 3 images, I used the Godox AD200 and the shoot through part of my 5 in 1 reflector. The strobe was fired at 1/8th power and layout can be seen below.

For the image below of the M5, I could have taken a second shot with the flash directly in front of the subject to light the inside of the camera. As this was just a test I didn’t really bother to take that extra step.

I could have also just created a copy of the original DNG/RAW file, pushed the exposure and shadows and add a layer mask to paint it in. This method is faster and something I would often do if I realize after the fact.
I found the image below of Gerald to be the most difficult out of the three. The main reason for this is due to its edges not being smooth like the two cameras. Regardless, I’m happy with how it looks.

With the technique in that video, they use the default color selector when adding the solid color layer. The method I used was slightly different.
Before creating the solid color layer, I used the eye dropper tool to sample a color from the subject and it automatically used that as the background color.
I really enjoyed using this technique and I plan to try it a lot more once I find interesting subjects. If you have any questions make sure to leave a comment. You can also subscribe using the form below if you want to be notified whenever I make a new post.
This post was also published here.


great